My 2020 Subaru Forester Car Camping Setup!

Camping is fun! Not everyone is a fan of tents and swags, however. If you can manage it, camping in your car is a great alternative if properly setup. It’s secure, keeps you out of the weather and saves on setup/packing time. I built this for leisure, but also because this channel takes me to a lot of rural areas with average and expensive accommodation. Camping is as comfortable and luxurious as you make it, after all!
There is a membership video about the build and testing process. I learned so much by searching around the internet, however, that I figured it would be pertinent to make the information freely available. Hopefully it helps someone like the many blogs and videos I watched helped me! I tried to combine all the best ideas I came across.
Firstly, a few photos of the setup complete…


This has been designed to sleep two. As of writing we’ve only slept in it as a couple once, but it was a success! I’m 6 foot 2 and while I wouldn’t say I have the most space in the world, there’s enough that I can stretch out my legs. A tent wouldn’t be much longer. My partner is about a foot shorter than me. So, between the two of us we had plenty of space and slept quite well.
We’re skipping ahead quite a bit, however. Let’s delve into how I built this thing…

This was built on a budget because everything costs way more than it should in 2025. A capsicum for $4? Get fucked! Hopefully, you’re reading this in the future when things have calmed down (a man can dream). Luckily, there are bargains to be found if you persevere. The above image nearly shows all the construction materials. This fitout is designed to be practical, but not necessarily pretty. As such, the above boards and lumber were cheap because I think they’re intended for formwork. That’s totally fine by me.


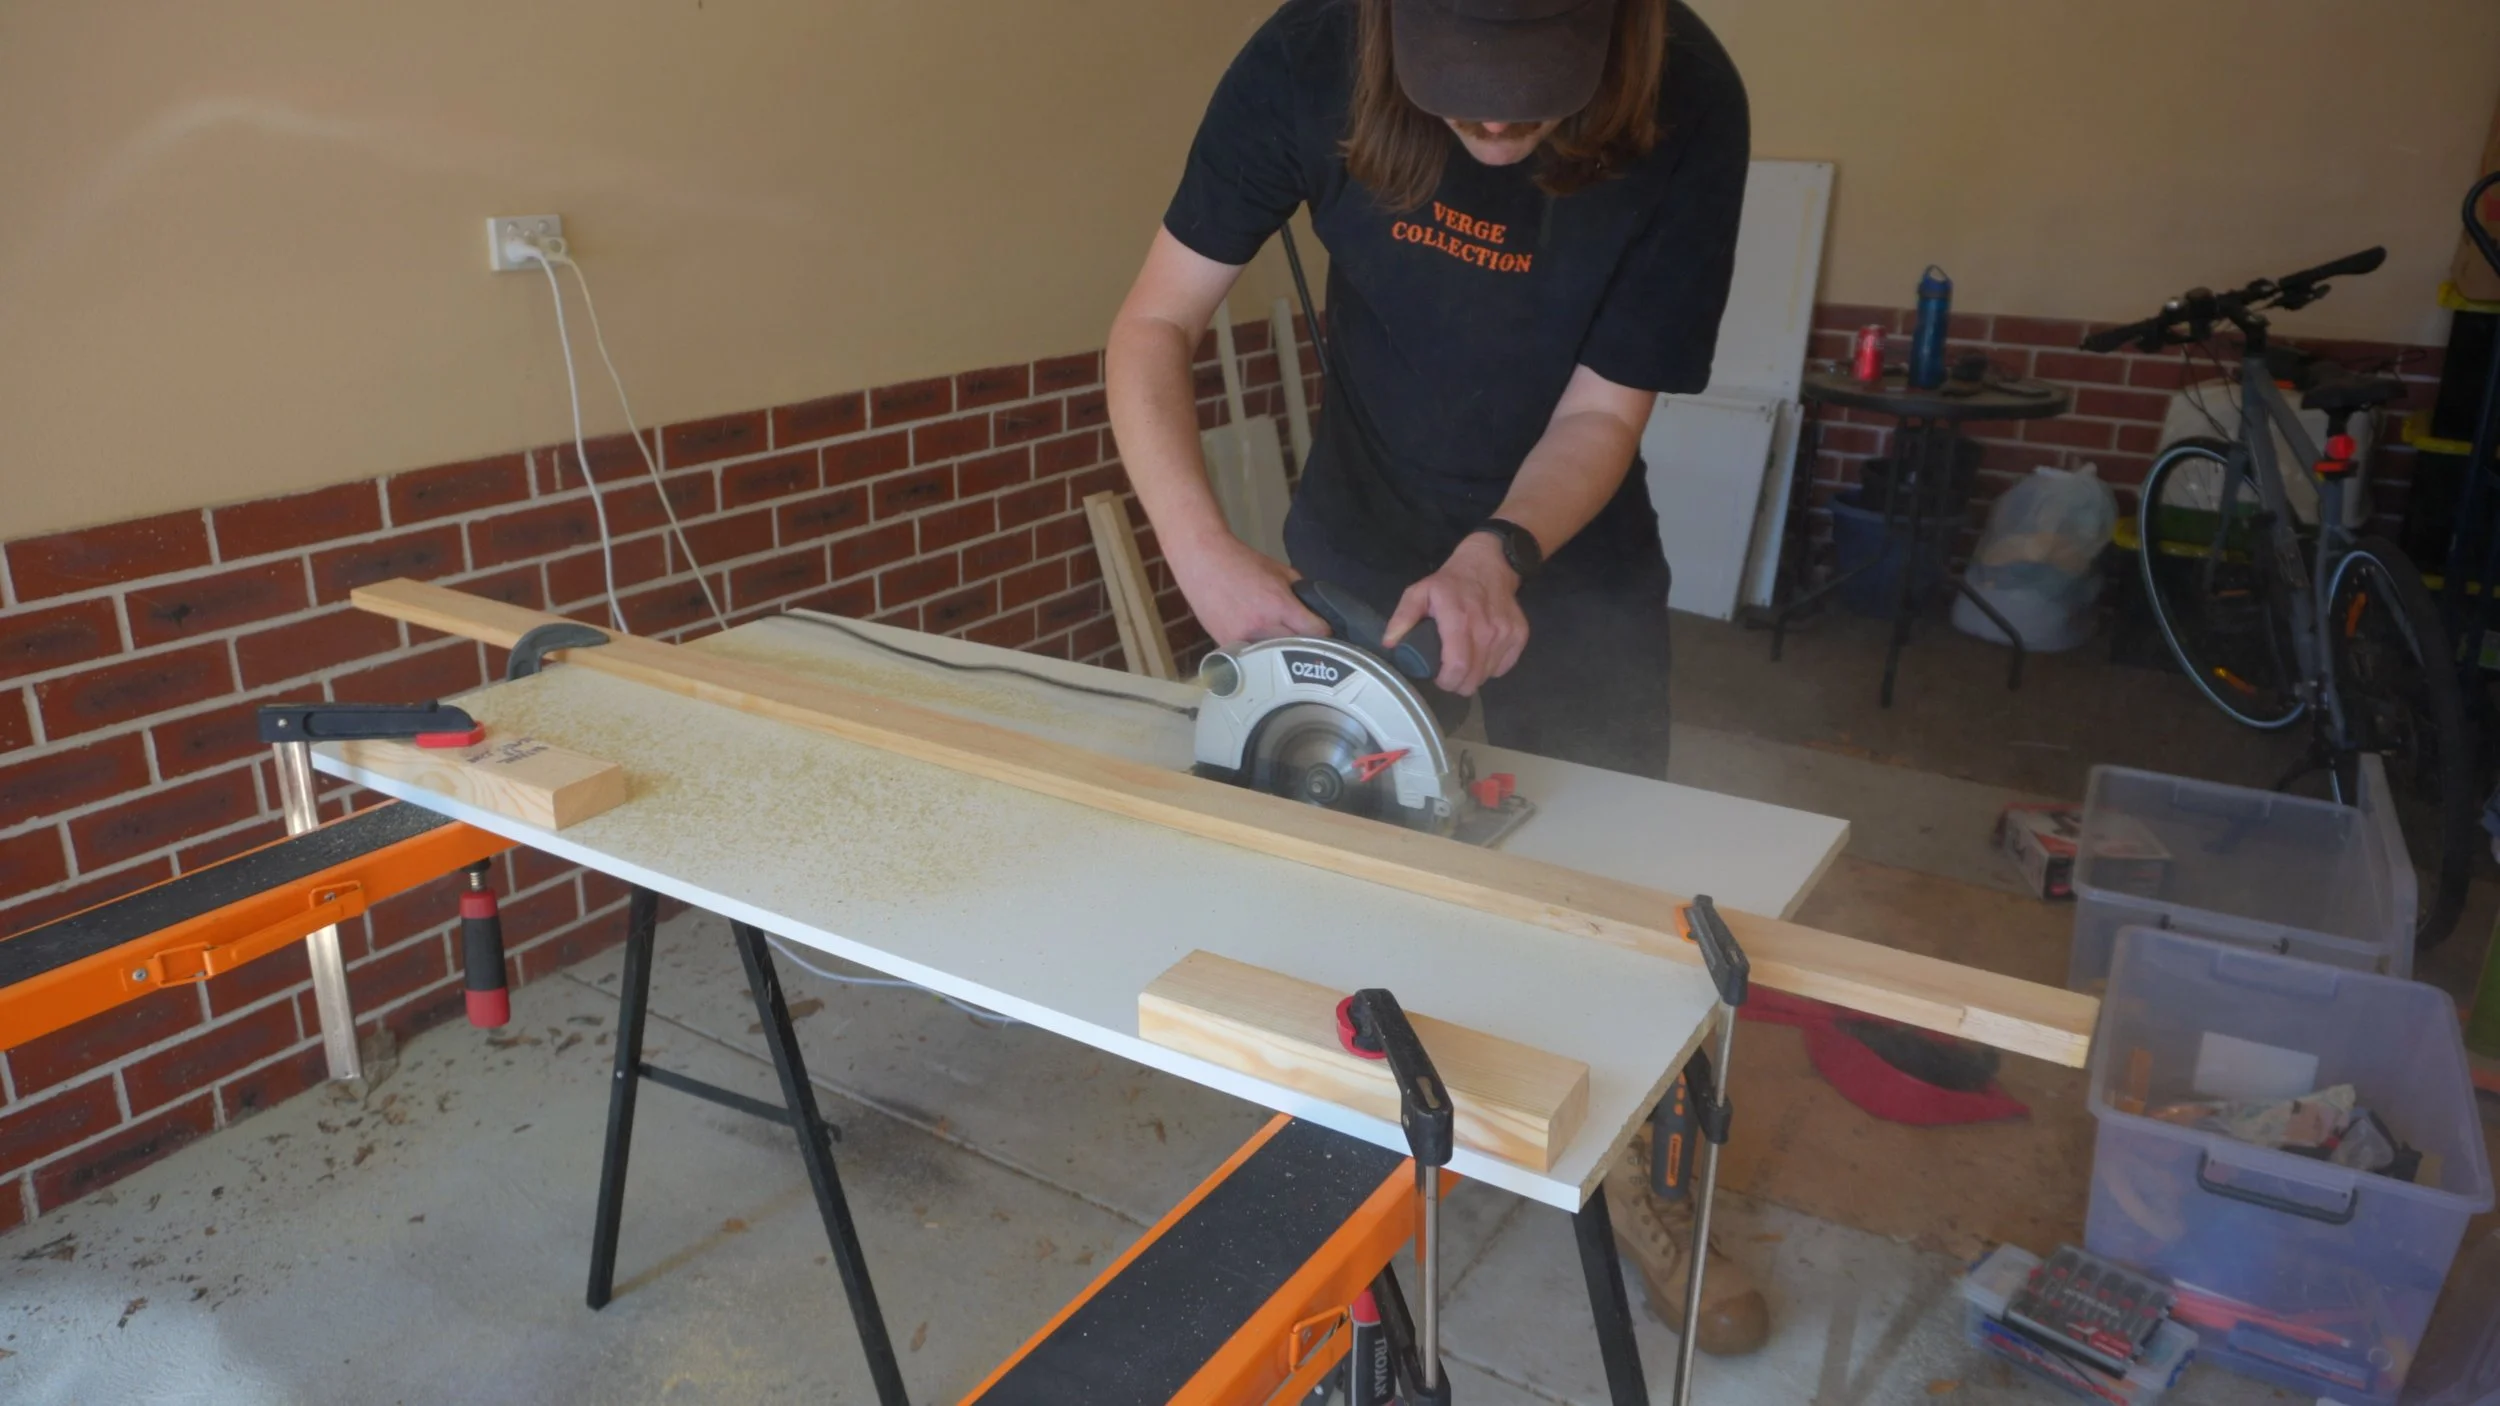
Who’s more of a tool? That guy or the cheap circular saw?
…I’m here all week! Like I said in the video, I’ve got shit tools and shit skills. Still, we’ll try our best and edit out all the mistakes to make me look good.
The platform comprises of two sections. One half goes into the boot, while the second through the side doors. Once the car is parked and the front seats moved forward, the second section includes an extra length of board that flips out. This is supported by two columns that are stored while driving. I should really draw some sort of diagram in case that doesn’t make sense, but you’ll see it take shape as you continue reading. Otherwise, the lumber is used as posts to hold the boards. This creates a flat sleeping surface, but also storage underneath. It’s a very simple construction.
I had to buy the storage containers first so I knew how high to build. The higher we go, the less ceiling clearance we get - so it was a bit of a balancing act. Long but low storage bins are surprisingly hard to find. Eventually, I landed on these 32L “Ezy Storage” tubs from Officeworks. They’re pricey for plastic storage and the water resistance isn’t totally necessary (they’ll be stored in the car as I sleep because of animals) but they were the perfect shape.
Once they were cut to size, the posts were simply screwed in. I didn’t even use glue. This turned out to be a good choice since a few would eventually be moved around.


The boot section taking shape. I get that the split in the middle not being even might annoy some. But like I said, I’m leaning towards practicality. One side is the full length of the board (so no cutting required) and the rest is… the rest.


The supports needed to be moved in to avoid the wheel wells (shown here not screwed in yet). Note the rubber mat. There will be two of these across the boot and the (folded down) back seats by the time I finish. These are cheap from Kmart.

Boot section complete! As you can see, the containers fit well. There’s plenty of space on the left too. This is used for camping chairs, fold up tables etc.

Boot section complete! As you can see, the containers fit well. There’s plenty of space on the left too. This is used for camping chairs, fold up tables etc.
Now it was time to build the rear seat section. The construction is similar, but the height of the posts need to account for the slant of the folded down seats. This section is also wider to take advantage of the extra room compared to the boot.
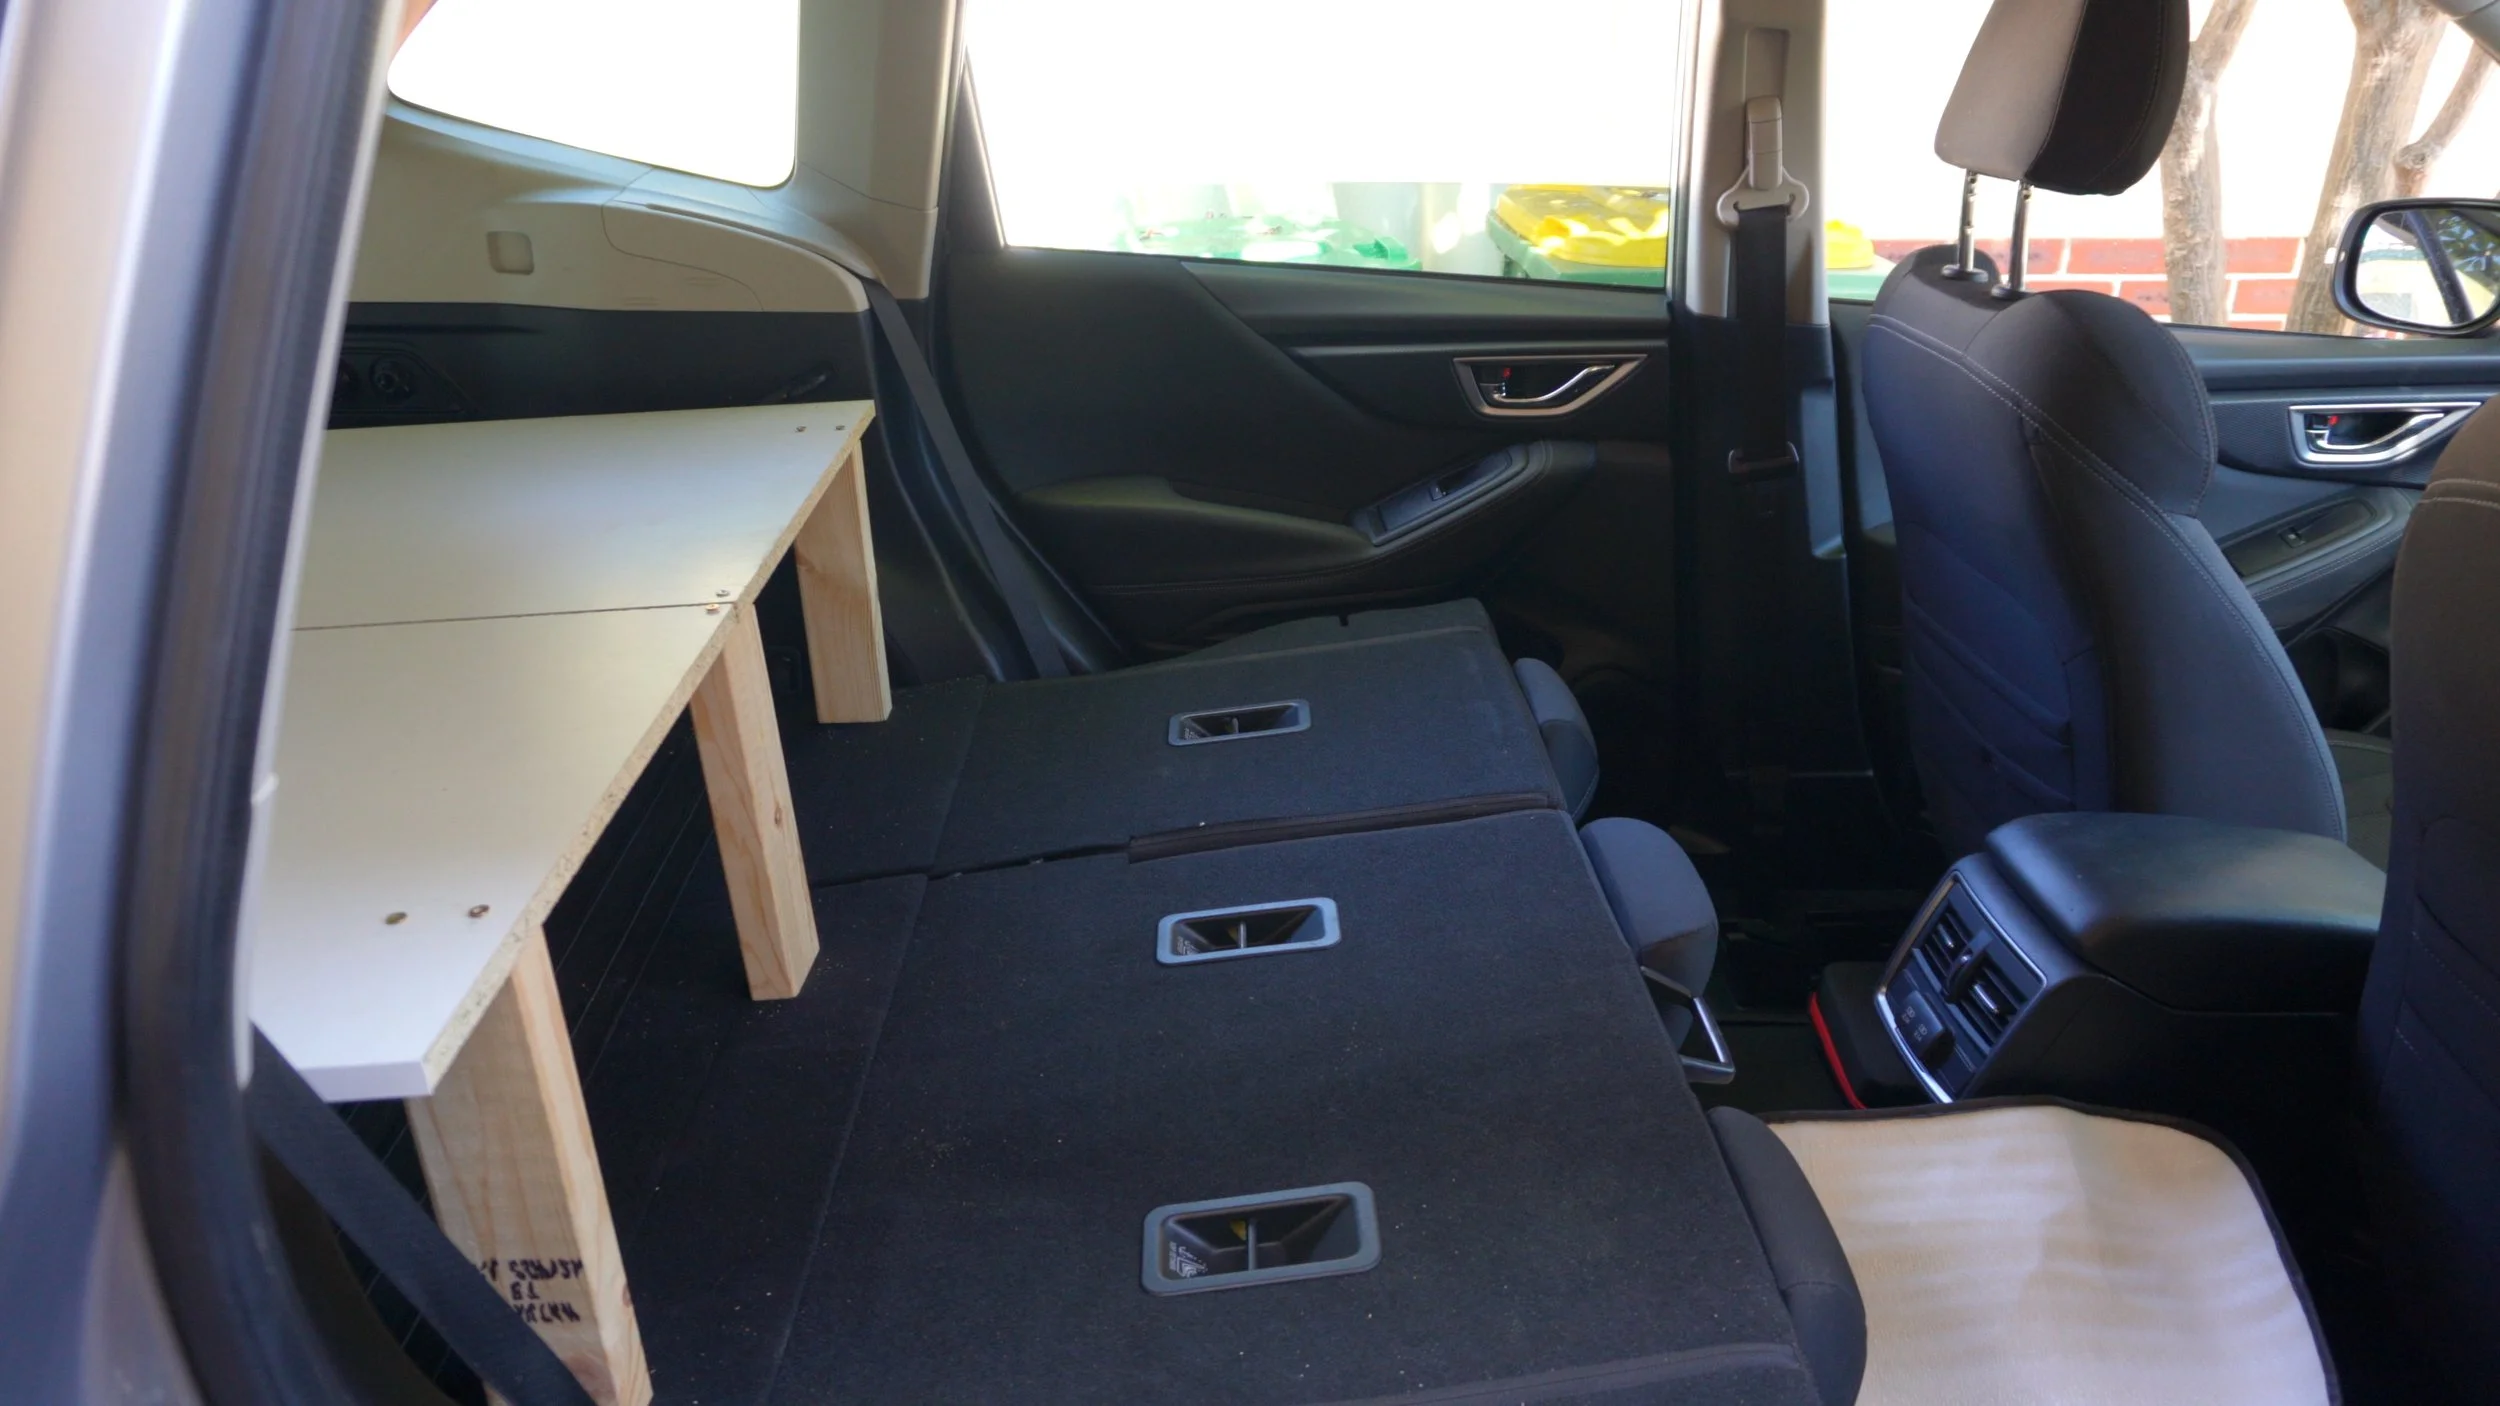
I nearly got it flush, but luckily overshot it by 10mm. I simply sawed off the excess. It’s a good thing they weren’t too short or the entire length would be wasted.


Once complete, you can see how much extra space there is once the front seats go forward.


I got busy building the section that folds out. This is just the same type of board cut to size and attached with hinges.


It won’t be left flapping in the breeze, however. I cut two lengths of wood to hold it level. These are each secured using a large bolt that can be inserted/removed by hand.


Finished! There are some odds and ends (like the bolts sticking up too much) but these would be amended further down the track

I attempted to line the board edges with this stuff, but it has since mostly fallen off. It doesn’t like adhering to the wood. I’m still on the lookout for a suitable replacement.

The mattress is super important. If I have a crap nights sleep in the Forester, then this whole project is for nothing. I needed something to fit the shape of an SUV (that accounts for the wheel wells) but also self-inflating. I opted for that because inflatable mattresses would probably be too thick. We’re struggling for headroom as it is.
It wasn’t easy to find one that caters to both, but I eventually found this on Amazon by a brand called KARMATER (I’m not yelling, that’s how they show it). It wasn’t cheap, but is actually very comfortable considering how thick it is. I’m a very choosy sleeper (so is my partner) and we’ve both slept on this quite soundly. There are creases in this photo, but that’s only because this was the first time I set it up. These disappeared quite quickly.

It can get quite hot in a car, however (especially in Australia) so air flow is important. To counter that, I bought mesh sunshades. These fit over the back windows meaning they can be wound down, but provide some privacy and keep bugs out.

The final addition to the Forester is a built in awning. These are surprisingly cheap but require cross bars… which are also suspiciously cheap. Fortunately, the reviews for both are good (mostly saying how surprised they are by the cost) and several months on, I don’t have any major complaints. The only grip is the increased wind noise as you drive. They’re not exactly aerodynamic at those prices.
There is a bit of a learning curve to setting these up solo, especially if its windy. I found this video helpful. After a few attempts, you’ll be setting them up like a pro. Trust me!


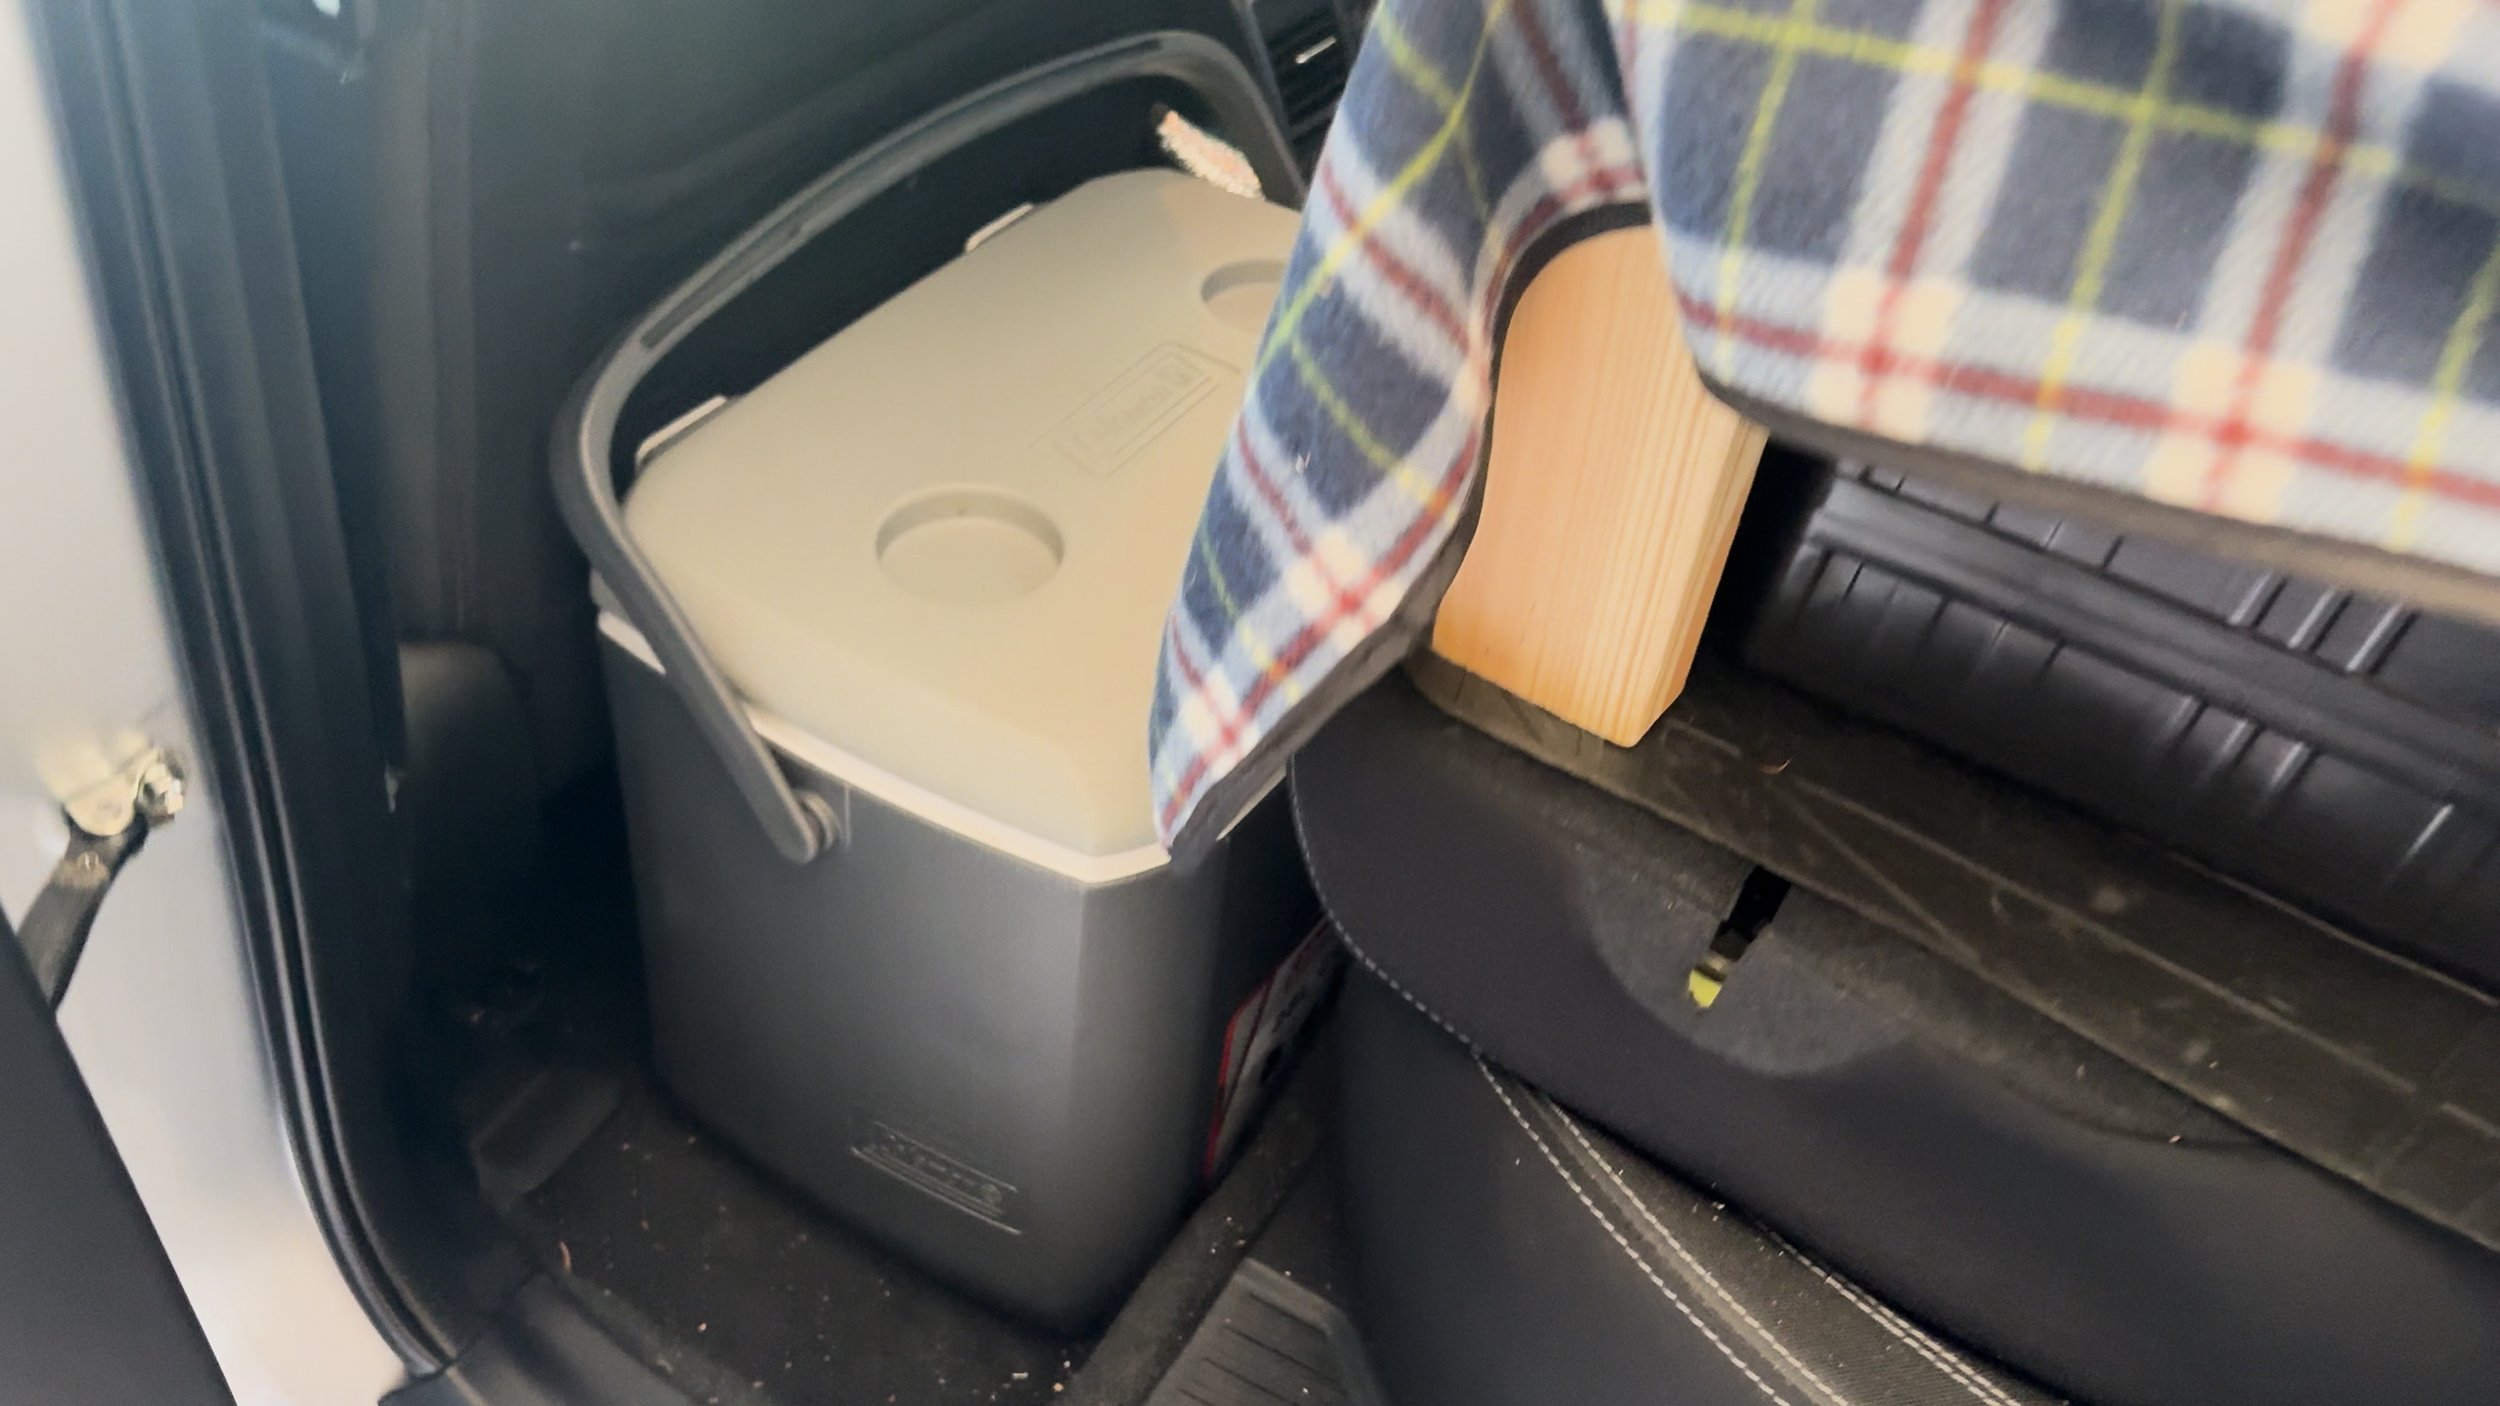
With that, it was time for the inaugural trip! Here are a couple of snaps of the car packed up and ready to go. In the plastic bag, you can see two yoga mats. These roll over the platform and sit under the mattress. This adds a little bit more cushion, but also protects the mattress from being punctured. The rear seat section includes a handy storage space too. This is perfect for items like the stove or my camera bag. I bought an esky that easily fits behind the seat too. A Yeti would have been preferable, but they’re priced accordingly. So far, I’ve had no issues with the Coleman I bought instead (which was a third of the price).


I decided to camp at Pumphrey's Bridge. This a cool location I’ve been wanting to check out, so this was a good excuse.


Just backing up some footage, promise!

I don’t have any good footage of me sleeping (for obvious reasons) but like I said, I have enough room to stretch out. The best I have is this shot of me blathering into the camera after I woke up.


Everything packs up neatly!

Some bonus pics of a separate camping trip (first time as a couple). Thanks for reading!


